

Christmas is a time for family, friends, and of course, lots of decorations! If you’re looking to get into the Christmas spirit, why not try drawing your own Christmas tree? It’s a fun activity that the whole family can enjoy. In this blog post, we will provide you with a complete guide on how to draw a Christmas tree. We’ll walk you through each step so that you can create your very own masterpiece!
How do you draw a simple tree step by step?
Table of Contents
Step 1 – Draw a large triangle
The first step is to draw a large triangle. This will be the base of your Christmas tree. Make sure that the triangle is pointing upwards.

Step 2 – Draw in the next section of the tree
Now it’s time to start filling in the rest of the tree. For this next section, you will need to draw a smaller triangle on top of the first one. Make sure that the point of the second triangle is touching the middle of the first triangle.

Step 3 – Continue adding sections
Keep going! For each subsequent section, you will need to draw a smaller triangle on top of the last one. Make sure that the point of the triangle is touching the middle of the previous triangle.

Step 4 – Now draw in the bottom of the tree and trunk
To finish off your tree, draw a line across the bottom of the triangle to create the bottom of the tree. Then, draw a rectangle on the side to create the trunk.
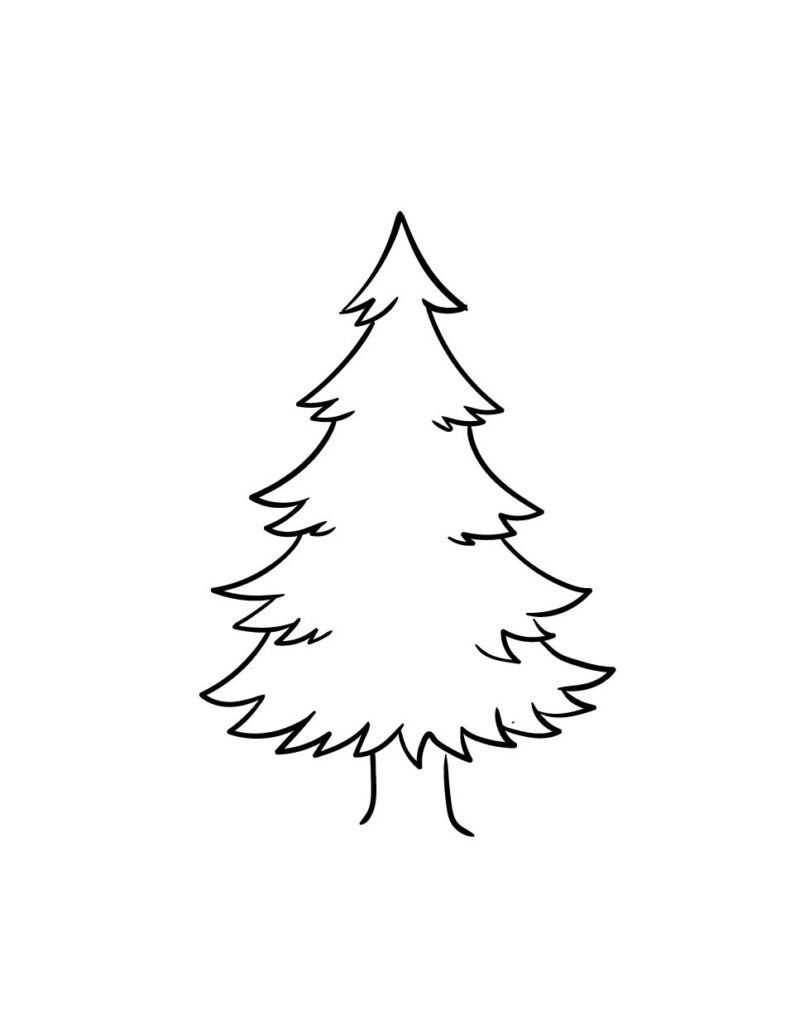
Step 5 – Next you will be adding in some small details
To give your tree some extra Christmas cheer, you can now add in some small details. Start by drawing in some leaves on the branches. You can make these any shape or size that you like. Then, add in some decorations such as baubles, tinsel, and lights!

Step 6 – Now draw in the decorations
Once you have added all of the small details, it’s time to start drawing in the decorations. Start with the baubles. These can be any color that you like. Then, add in the tinsel. You can make this as long or as short as you like. Finally, add in the lights. You can make these any color that you like, but we recommend using multi-colored lights for a really festive look!
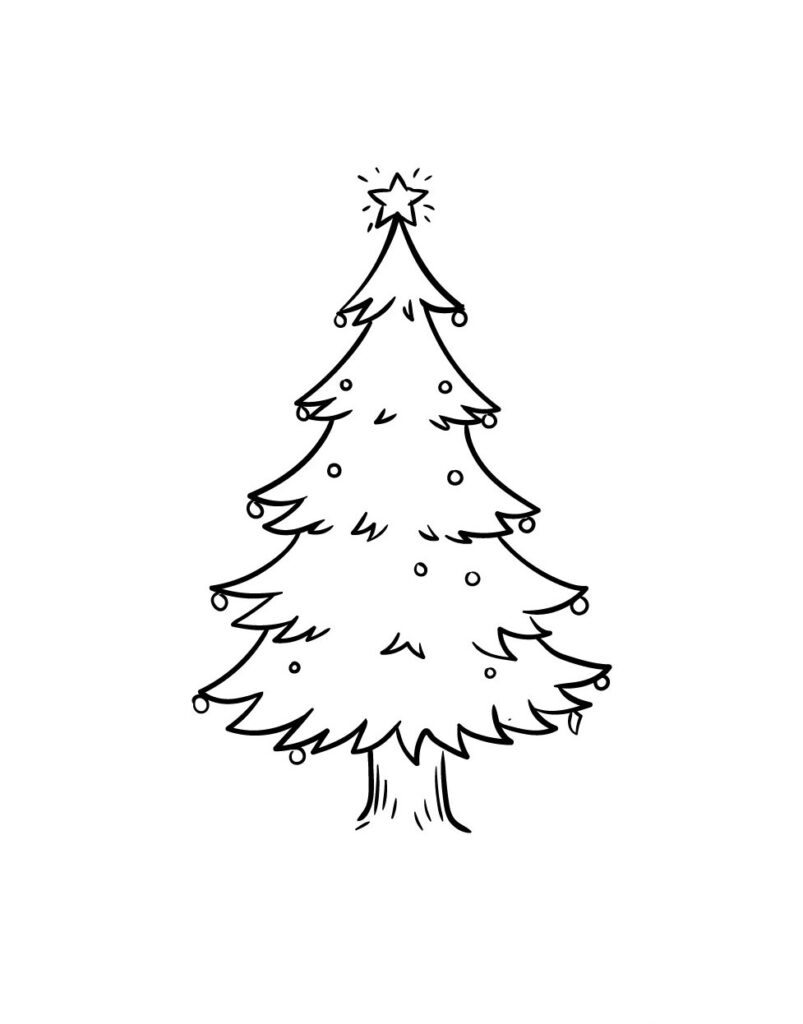
Step 7 – And finally…
To finish off your drawing, add a star at the top of the tree. This will be the topper for your beautiful Christmas tree!
We hope that you enjoyed this blog post on how to draw a Christmas tree. Remember, have fun and be creative! There is no right or wrong way to do it. Merry Christmas!